Lifestyle
Domestic Goddesses provides a holistic life style management service. We strive to assist you in creating a harmonious well balanced life though healthy eating habits, movements, home management, home décor and refurbishments.
We will consult with you about all your personal health and home needs and set out a program to relieve the stress of the admin responsibilities of creating a home environment that gives you respite from the stresses of living a highly functioning life.

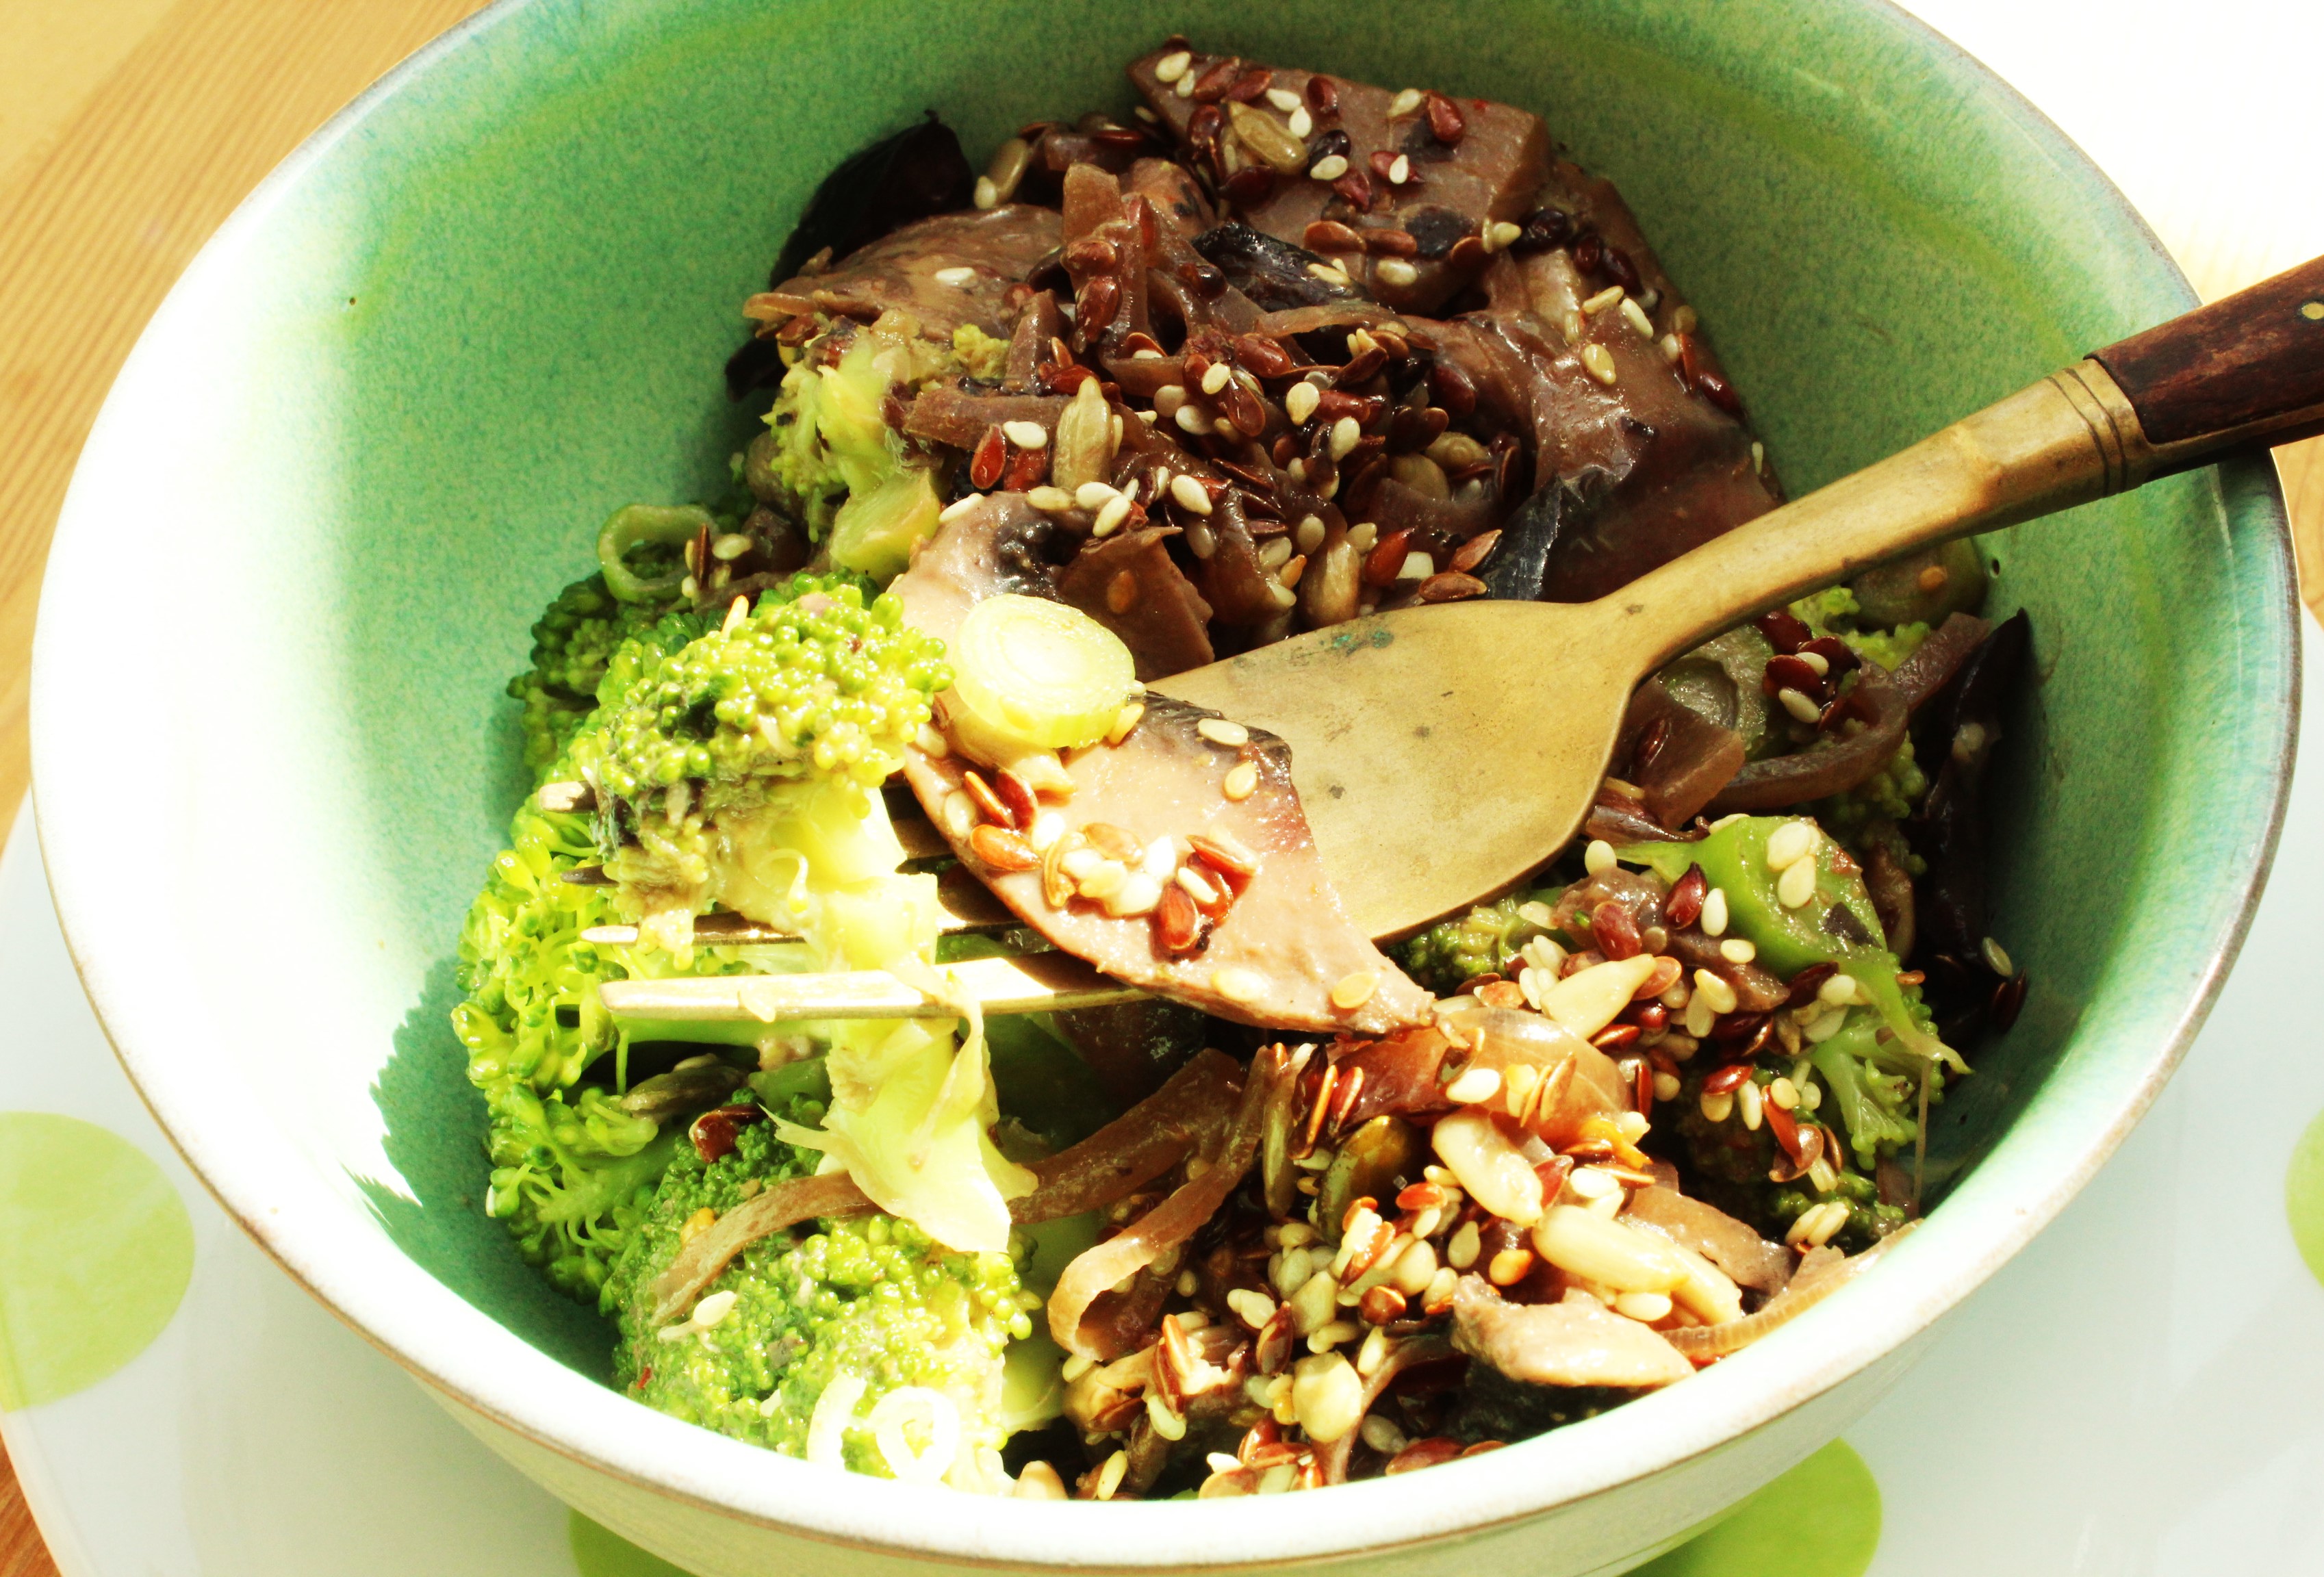
So over the low carb pasta trend!
With all the current low-carb diets, allergies and food intolerances, carb-alternatives have become the new “in” thing. Substitutes like cauliflower pizza bases, cauliflower rice, gluten free pasta, and seed bread are just a few of these popular trends. But hang on… let’s not kid ourselves, we’d all secretly rather take the carb-loaded bowl of deliciousness over the limp, zucchini pasta strands any day. Pasta and carbs are an irreplaceable institution, and to even try to substitute them with any kind of low carb pasta is blasphemy.
So why do it? I understand cutting carbs out of one’s diet. But rather do it properly and don’t try to replace something that just can’t adequately be replaced. With that said, my goal was to create something different but just as delicious – a comfort food feeling that cannot be accomplished with low carb pasta.
Instead, I recommend to make a really more-ish pasta sauce like my pasta sauce recipe below and pour it over your choice of steamed vegetable. It may not be real pasta but it is also mouth-wateringly good. Give it a shot, you will be pleasantly surprised!
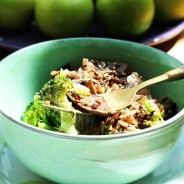
Mushroom, Artichoke & olive pasta sauce over vegetable (instead of sad low carb pasta)
Serves 4:
1 large onion, sliced
2 Tbsp of olive oil
2 cups of sliced mushrooms
60g of canned or marinated artichoke hearts
40g of pitted olives of your choice
3/4 cup of cream or coconut cream
3/4 tsp ground cumin
3/4 tsp chili flakes
1/2 tsp ground coriander
1 tsp sugar
1/2 cup seeds, roasted with olive oil and salt
1 spring onion, sliced finely
Fry onions in olive oil over a medium heat until golden brown. Add your mushrooms and cook for a further 4 minutes. Then add all your spices and stir for 1-2 minutes before pouring in your cream and continue stirring. Add artichokes and olives, stir for another minute and turn the heat off.
Pour over your choice of vegetable (broccoli was delicious!), and garnish with the spring onions and roasted seeds. No need for low carb pasta – Bon Appetit!
Pin for later!


Summer = Beach bums and bright Salads
Holidays are officially over. We’re all getting back into the swing of things, having eaten too much, drunk too much, gotten not near enough sleep, and leaving the words “gym” and “exercise” bordering on entirely foreign concepts. To make matters worse the current heat wave we’ve been experiencing is making it near impossible to wear anything more than the absolute bare essentials, and that bikini body deserted us weeks ago.
However, more important than looking great is feeling great and we are all aware that diet plays a big role in this department. People tend to forget what a big impact the food we choose to fuel our bodies with has on our general well-being and how rewarding it is to stick to a clean diet. This being said, not everyone has the time to cook new, healthy meals everyday.
I’ve always found that if there is only healthy food in the house then ten to one I’ll end up sticking to my clean eating plan, having rid myself of temptation. And this is where this salad is perfect! It’s quick, there’s no cooking involved, you can make it a week before and leave it in the fridge either to snack on or as a main meal and its super delicious and healthy!

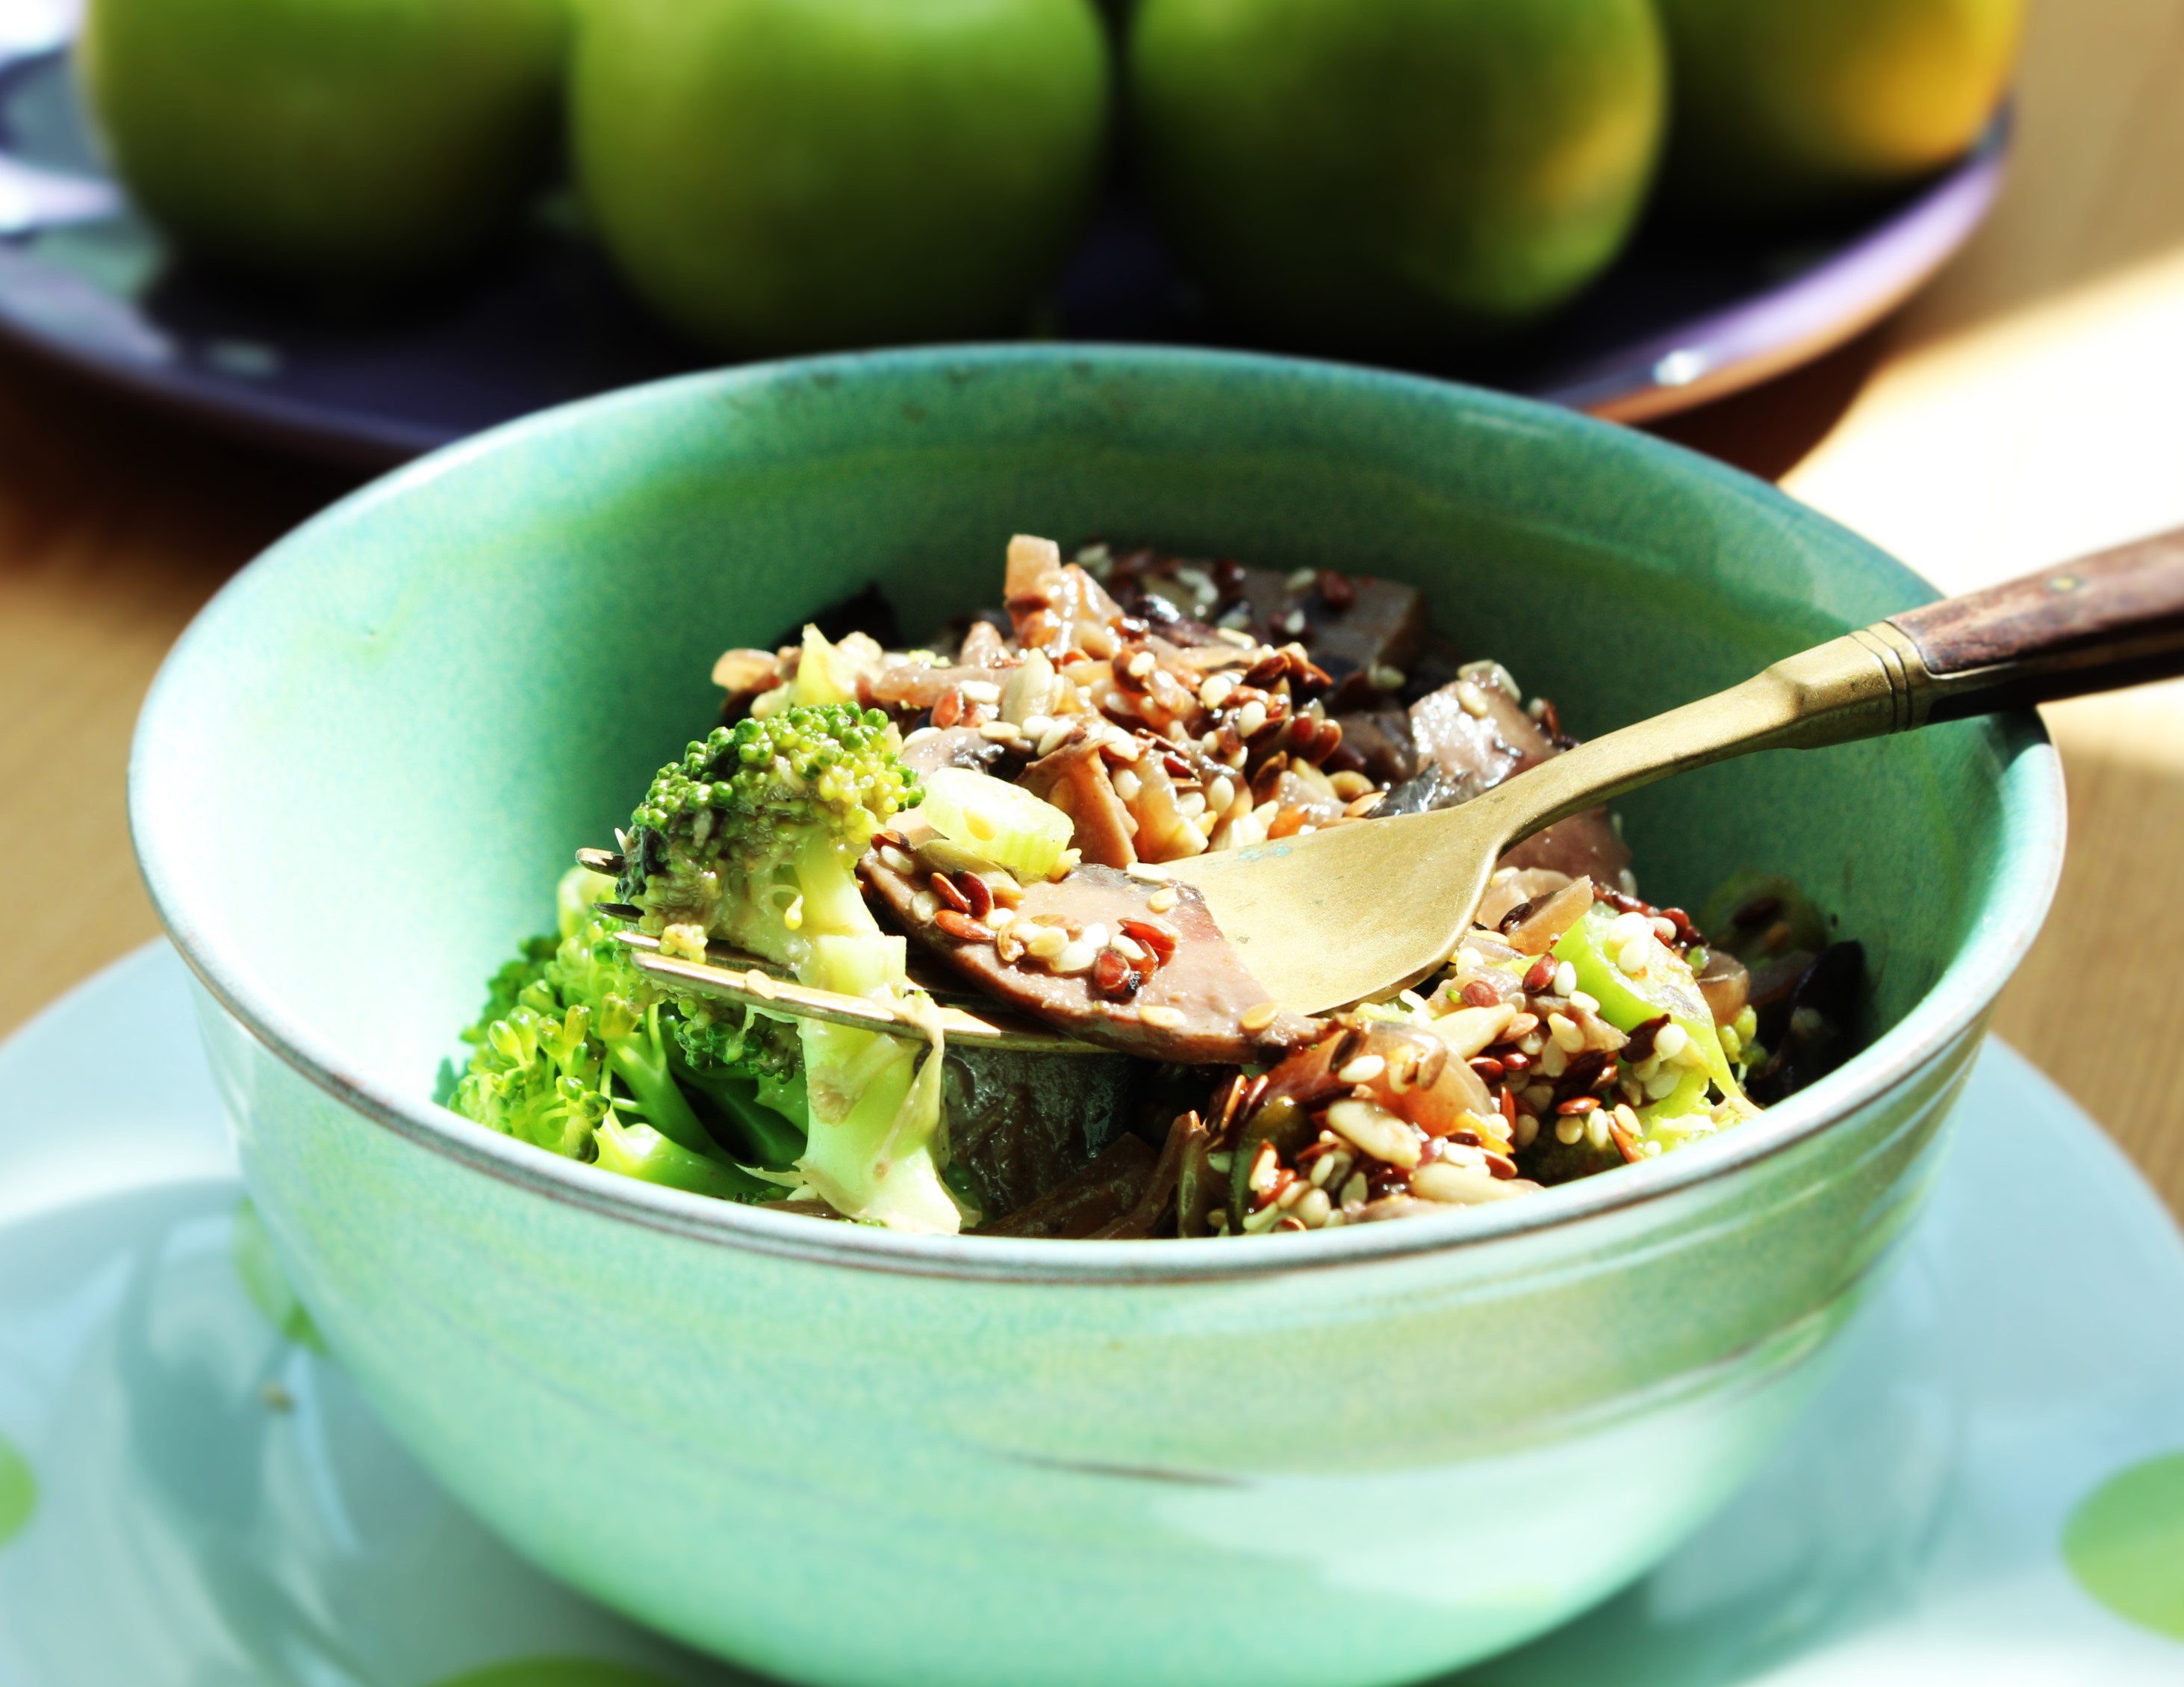
Carrot and Cabbage Salad
Serves 4
4 medium carrots, peeled and grated
¼ – 1/8 of a cabbage, very thinly sliced
1 cup of frozen sweet corn, defrosted
1 Tbsp of fresh ginger, peeled and finely chopped
1 tsp of garlic, peeled and finely chopped
2 Tbsp of lemon juice (or to taste)
1 tsp of lemon zest, finely grated
2 Tbsp of pale vinegar, like white balsamic or white wine vinegar
2 Tbsp of olive oil
1 Tbsp of sesame oil (or less if it’s very strong – mine is a blend)
1 Tbsp of Sugar (add more if it is still to sour)
salt and pepper (to taste)
chilli to taste
½ a cup of feta, roughly crumbled
½ a cup of roasted seeds – a mixture of flax, sesame, sunflower and pumpkin seeds *
a handfull of fresh coriander, bigger stalks picked out
Combine all of the salad ingredients in a large mixing bowl. Keep some of the feta, seeds and coriander aside to garnish once ready to serve. Allow the salad at least half an hour to draw flavour and toss from time to time so that the dressing coats the salad and draws flavour.
* For the roasted seeds – fry over medium heat with a little sesame oil, salt and a mixture of your favorite spices (I use cumin, turmeric, chilli, garam masala and paprika).
And Enjoy!

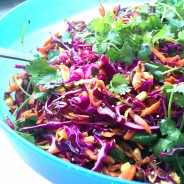
Written by Gabi
Help me welcome Gabi to the DG team!

Gabi has recently joined the Domestic Goddesses team for an internship to help me revitalise my blog – well, revitalise is being kind; raise from the dead is probably more like it.
As my business has gotten busier AND BUSIER! I’ve not had time to keep up with my blog – I still have loads of tell and show but just not the time to get it into digital format. Enter Gabi! She is going to help me get my pearls of wisdom (!) out there and I’ve asked her to contribute her own thoughts – helping her to find her voice and share her tips and tricks with us too.
I am so excited to see what happens with this space now and I’d love to hear from you about what you think about the new material we’re going to be sharing.
Ice coffee my way… and the high octane way

I love coffee!
I know the health risks and the health benefits (yay!). I try not drink too much of it and make sure it’s fair-trade, organic etc etc etc but the idea of cutting coffee out of my life just makes me sad…
During summer I love to drink and ice coffee after lunch. It helps me through my afternoon slump and keeps me cool at the same time. I have a fabulous portable chiller sippy cup thing (from woolies) which I use at home and on the road. My go to mix is a double espresso with soya milk and xylitol over lots and lots of ice blocks. It’s quick, easy and tastes delicious to me. ‘Normal’ people can use any strong half portion of whatever coffee you like with lots of ice (the hot coffee melts half the ice before getting cold) then add what ever extras you usually use in your coffee. I recommend adding sugar while the coffee is still hot as it dissolves better.
That said, a few months ago I read a post by one of my favorite bloggers about her favorite ice coffee recipe. So yesterday I decided to try it out. I did change up a few things here and there but inspiration can mostly from The Pioneer Woman.
Here it is!

Ice Coffee Concentrate
125g ground coffee
1 litre boiling water
Combine the hot water and coffee in a large casserole dish and allow it to cool. Once the mixture has cooled, pop it in the fridge and leave it over night.
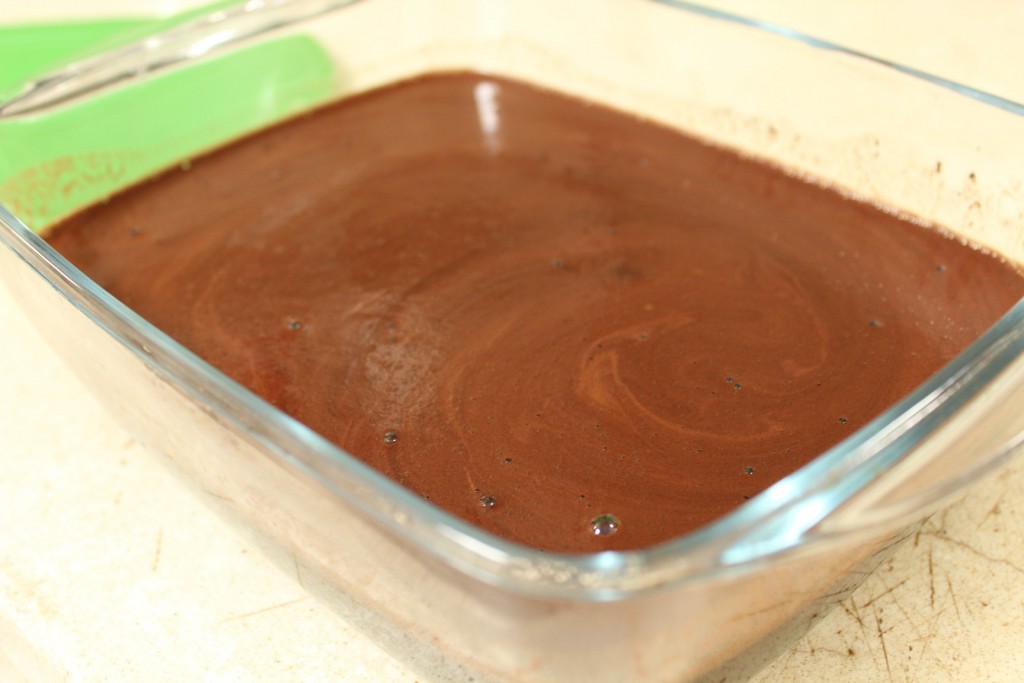
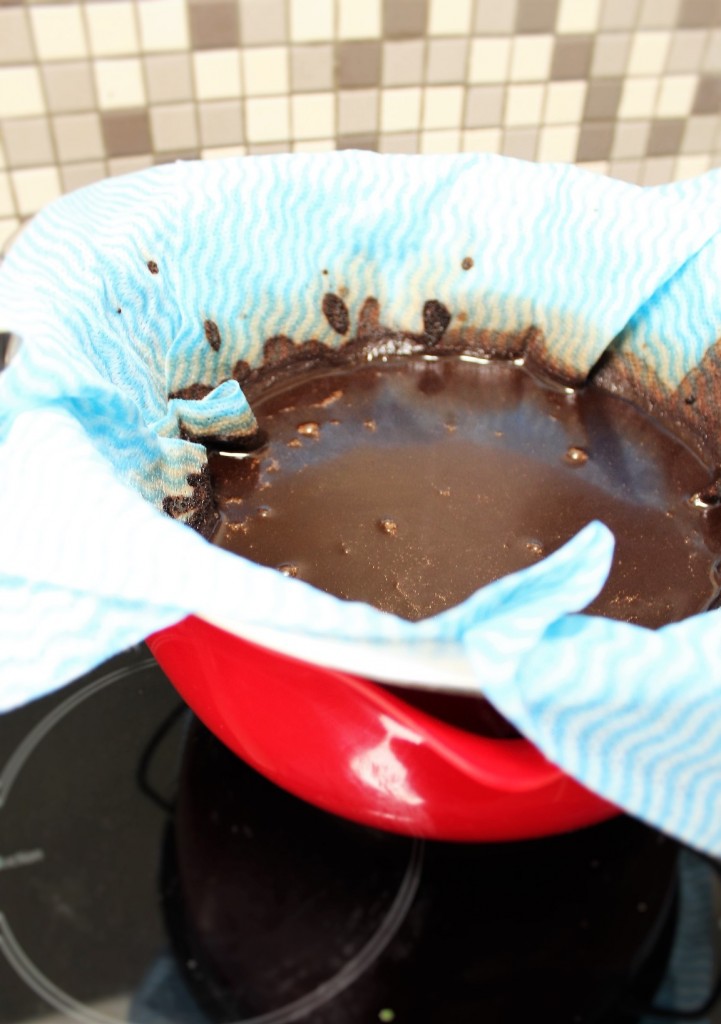
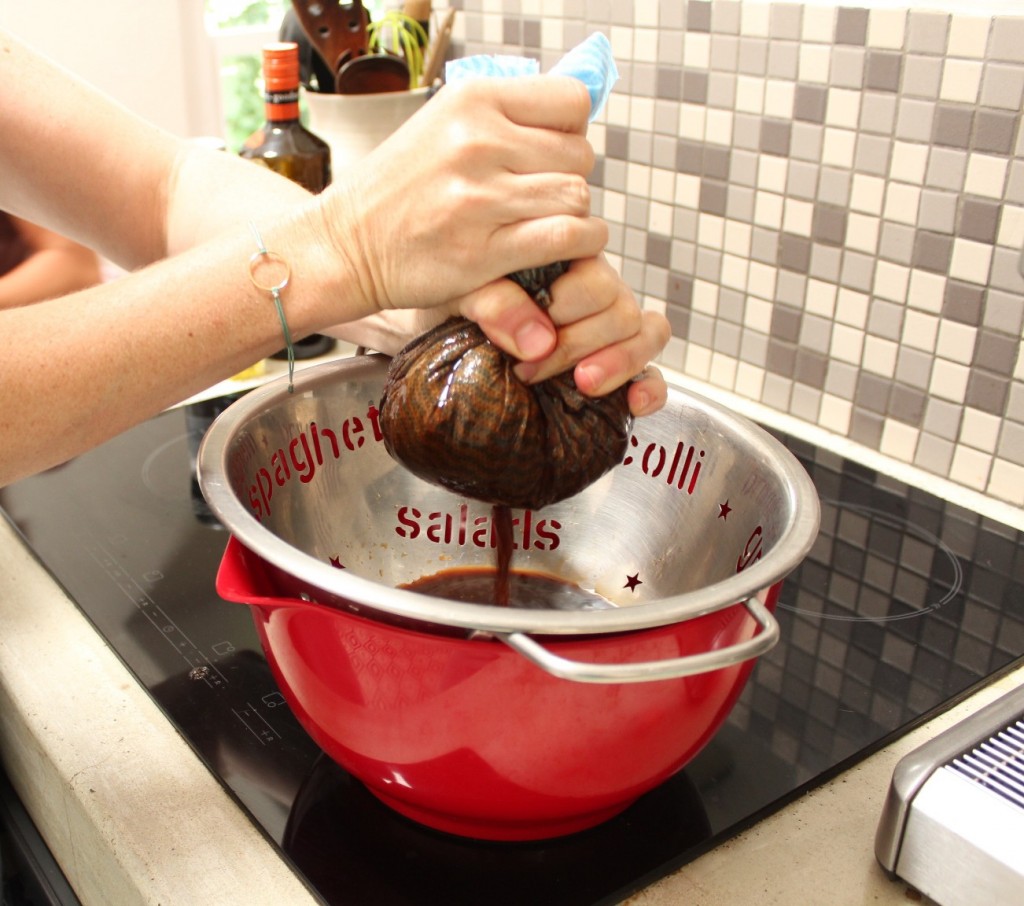
When ready, removed it from the fridge and strain it into a plastic bowl. To strain place two layers of jay cloth (or muslin) into a colander or sieve and pour the mixture through it. Once it stops running through the cloth, pick up the corners of the cloth and gently start squeezing the mixture into your bowl.
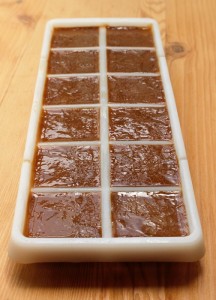
Ice coffee cubes (optional but great when you have them)
100 ml Coffee concentrate
100 ml Milk/ milk substitutes
2 tsp Sugar/ Sugar substitutes to taste
Combine all ingredients together, pour in an ice tray, pop in the freezer and leave until frozen.
The ice coffee
1/2 coffee concentrate
1/2 milk / milk substitute (or to taste)
sugar or sugar substitute (to taste)
Ice coffee ice cubes or regular ice
Pour a mixture of the concentrate and milk in a glass (I did half and half), stir in sugar to taste and pop of few of the ice coffee ice cubes into the glass, and enjoy! This coffee has a pretty sturdy kick… if you’re caffeine sensitive this may not be the thing for you!

What I think I look like, while sipping my coffee.

What I actually look like, while sipping my coffee.
Grilled Aubergine and Haloumi Salad
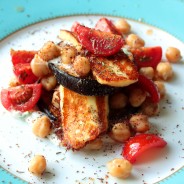
It’s hot… everyone is complaining about… it’s driving me crazy! But what’s the silver lining here? I really don’t feel like eating rich and heavy food right now. I want salads, light meals, smoothies; things which are cooling but still comforting and nourishing.
I have guests coming for dinner tonight and want to make something a little special. Donna Hay’s cook book ‘no time to cook’ is one of my favorites and this salad recipe really has the best of both worlds for me being quick but also a bit special. It’s light, cooling, nourishing but still has a sexy flair to it.

Grilled Aubergine and Haloumi Salad
Serves 4
2 aubergines, sliced
80ml of olive oil
1 ½ tsp of ground cumin
1 ½ tsp of smoked paprika
Salt (to taste)
200g of haloumi, sliced
400g tin of chickpeas, drained and rinsed
250g of cherry tomatoes, halved
¼ cup of flatleaf parsley, roughly chopped
1 tsp of sumac
Minted yogurt dressing
¼ cup of mint leaves, finely chopped
¾ cup of plain yogurt
½ tsp of garlic, crushed
½ tsp of lemon zest
2 tsp of lemon juice
Pre-heat the oven on grill, place the rack close to the top of the oven. Brush both sides of the aubergines with olive oil sprinkle the slices with cumin, paprika and salt and place on a lined baking sheet. Grill until dark golden and cooked through.
Fry the haloumi slices until crispy and golden. Toss the chickpeas,
tomatoe and parsley in a small bowl and drizzle with olive and salt.
On a platter arrange the slices of aubergine, haloumi, tomato salad and dressing in stacks. Sprinkle the salad with sumac to garnish.
Recipe: from Donna Hay’s “no time to cook” – one of my favorite go to cook books.
Chicken soup

It’s been such a long time since I posted a blog. It feels good. Like coming home.
This week I’ve been nesting. Nesting because it’s autumn. I’ve had my first (and hopefully last) cold for the season. The heaters have been on, the slippers out. Good old fashioned chicken soup was the logical next step.
I didn’t want a new twist, or a healthier version – I just wanted the old fashioned good stuff. It was delicious. Simple and satisfying.
Traditional Chicken Soup
Makes about 2 litres
1 Tbsp of olive oil
1 medium onion, roughly chopped
2 cloves of garlic, roughly chopped
4 chicken pieces, with skin and bone
2 litres of strong chicken stock
1 cup of carrot, finely diced
1 cup of green beans, cut into thumb length pieces
1 cup of baby marrow, finely diced
1 cup of cabbage, shredded
In a medium pot fry the onions, garlic and chicken pieces in the oil for a few minutes. Add the chicken stock and simmer for a few hours until the meat is falling off the bones.
Separate the broth from the chicken by pouring it through a sieve. Return the broth to the pot and add the veggies. Allow the chicken to cool a little and then remove all the skin and bones. Chop the remaining meat and add it to the soup. Simmer until the veggies are tender.
Season with salt and pepper and garnish with fresh herbs.
Smartie Cake

I saw some pictures online of cakes decorated with M&M’s – smarties cake basically – and felt the urge to try it when my housekeeper’s daughter’s first birthday came along.

If you are expecting kids birthday cake recipes now, I have to disappoint as I made a simple vanilla sponge sheet cake, filled it with Nutella, covered it with caramel and then decorated it with smarties (South Africa’s version of M&M’s).
I dusted it lightly with edible glitter and Hundreds and thousands. Even though I never got to taste it, as I sent with my housekeeper for her daughter’s party (and as it usually goes for the adults when it comes to kids birthday cakes), I can’t imagine it was anything less then decadently delicious!
I just love the way it looks – so bright and funky.
It was a large cake so I used 4 large boxes of smarties to decorate one smartie cake with. The caramel on top needed to be thick so that smarties could stay upright sideways.
You can alter the smarties cake recipe to suit your needs: make a smarties chocolate cake, a carrot cake, arrange the smarties in different shapes – the options are endless!
Pin for later!


My first attempt at French Macaroons

My niece is an amazing cake baker. She has the patience, artistic talent and creative flair to create not only beautiful but also great tasting cakes. I do not. I have a few cake recipes which I think I have mastered but the quicker I can get them made with simple (but elegant) decoration, the better.
That said I have always heard how difficult french macaroons are to make and my niece mentioned wanting to make them, so for me it was part challenge and part something fun to with her. On Sunday we tackled the task. We watched various You Tube videos on the topic and found one which really made sense to us. We also found an espresso butter cream filling recipe which appealed to us and we decided to give them a bash.
Although the result was far from perfect looks wise, they had a crunchy outside, chewy inside with a silky filling. The bug has now bitten. I want to perfect this heavenly little cookie.
The recipe I used for the macaroons, click here.
For the espresso butter cream filling, click here.
I will report back once I have found out what I did wrong and what to do to make the perfectly.
Starting a new group yoga class

I recently decided to start a new group class in Observatory which kicks off tomorrow evening!
It will be a slow therapeutic class, working on stretching and relaxing the body. There will be a strong focus on breathing and creating body awareness. This class would be ideal to introduce students to yoga before starting more challenging classes or it can be used while recovering from an injury or a simply wanting to relax the body and mind.
Each class will end with a breathing and relaxation period called pranayama and yoga nidra which restore balance and harmony to the body and mind after the physical period of asana has ended.
The class will be on Tuesday from 18h00 – 19h15 at the Observatory community center on the corner of Collingwood and Rawson Rd. There is plenty of parking.

The cost will be R80 for a drop in class and R240 per month (R60 per class). Please wear loose comfortable clothing. You will need to bring your own mat, pillow and blanket. I will bring a few extra in case someone forgets.
Feel free to give me a call if you want to chat about anything – 082 473 1663.
How to pan fry the perfect steak
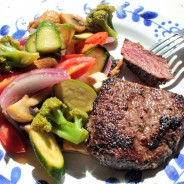
I have found that many people don’t really understand how to cook a steak. So I’m going to run through a few of the basics.
- You need a good thick pan heated to searing hot. Do not add the steaks before the pan is super hot. If your pan is non-stick you won’t need much oil, if it is not a non-stick pan you will need a bit more oil to grease the bottom of the pan properly.
- Your steaks should be thick cut; 3cm – 4cm thick are the best. But usually pre-cut steaks are closer to 2cm thick. Thick cut steaks allow you to fry the steak till it gets a crispy brown crust on the outside before over-cooking the meat on the inside. If you only have thin steaks available, you may need to choose which is more important to you – rare meat with very little caramelisation on the outside, or a crispy outside but well done one the inside.
- You need to dry your steaks before frying them. Any blood or juices on the surface of the meat with turn into steam and boil your meat. Pat the steaks dry with kitchen towel. Salt and pepper them and fry them right away in your searing hot pan before the salt draws moisture out.
- You need to rest your steaks before eating them. Keep a plate warm, place your cooked steaks on the warm plate and cover them with foil. Leave them for 5 – 10 minutes depending on how big and thick your steaks are. Then serve them right away.
The recipe below is a lovely way to eat ostrich steaks which are a firm favourite of mine. And it’s a rather healthy recipe too.
Ostrich steaks with gremolata
Serves 4
for the gremolata
2 Tbsp of oil
1 tsp of garlic, crushed
1 tsp of lemon zest, finely grated
2 Tbsp of lemon juice
2 Tbsp of capers, drained and finely chopped
6 Tbsp of parsley, washed, picked and finely chopped
4 ostrich fillet medallions, ( about 2 cm thick)
1 Tbsp of oil
Salt and pepper to season
Combine all the gremolata ingredients and set it aside out of the fridge until ready to serve.
Heat the oil in a medium sized heavy bottomed pan to high heat. Pat your steaks dry; salt and pepper them. Add the steaks to the pan and do not move them, allowing them to fry for about 3 minutes before turning them. They should have browned nicely, if not fry for a further minute. Once you flip the steak fry for a further 3 minutes for a medium rare steak or about 4 minutes for a medium steak. Let the steaks rest covered with foil for 5 minutes before serving with a generous dollop of gremolata.
Serve with your favourite side dishes.


